Physical materials
Opening the Physical Materials dialog box
- Launch the BLMATERIALS command.
- Use the hamburger menu in the BIM Compositions panel and choose the Open material dialog option.
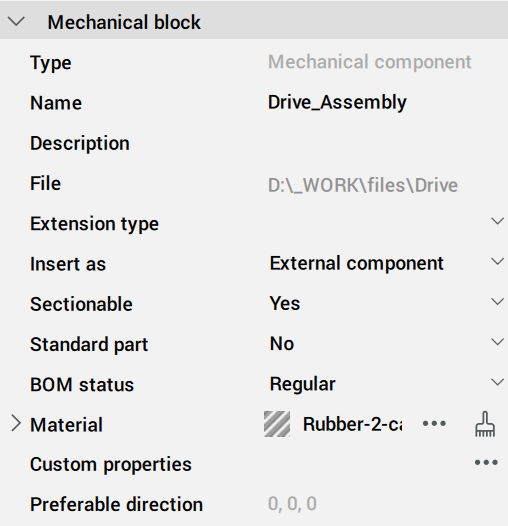
- Click the Browse button (
 ) of the Material property in the Mechanical Browser for a selected component.
Creating physical materials
You can create physical materials in either the Project or the Central database. You can create new materials from scratch or copy them from an existing material.
Creating a physical material from scratch
With the Physical Materials dialog box opened, select a material in either the In project or the In central database material list.
- Click the New Material button (
 ) in the Physical Materials dialog box.
 - Right-click and choose New Material in the context menu.
A material named New is added to the selected database. Now you can edit the new material.
Adding a physical material as a copy of an existing material
- Right-click the material you want to copy and choose Duplicate in the context menu.
- A material named <existing_material>-2 is added to the selected database.
- Edit the copy of the material.
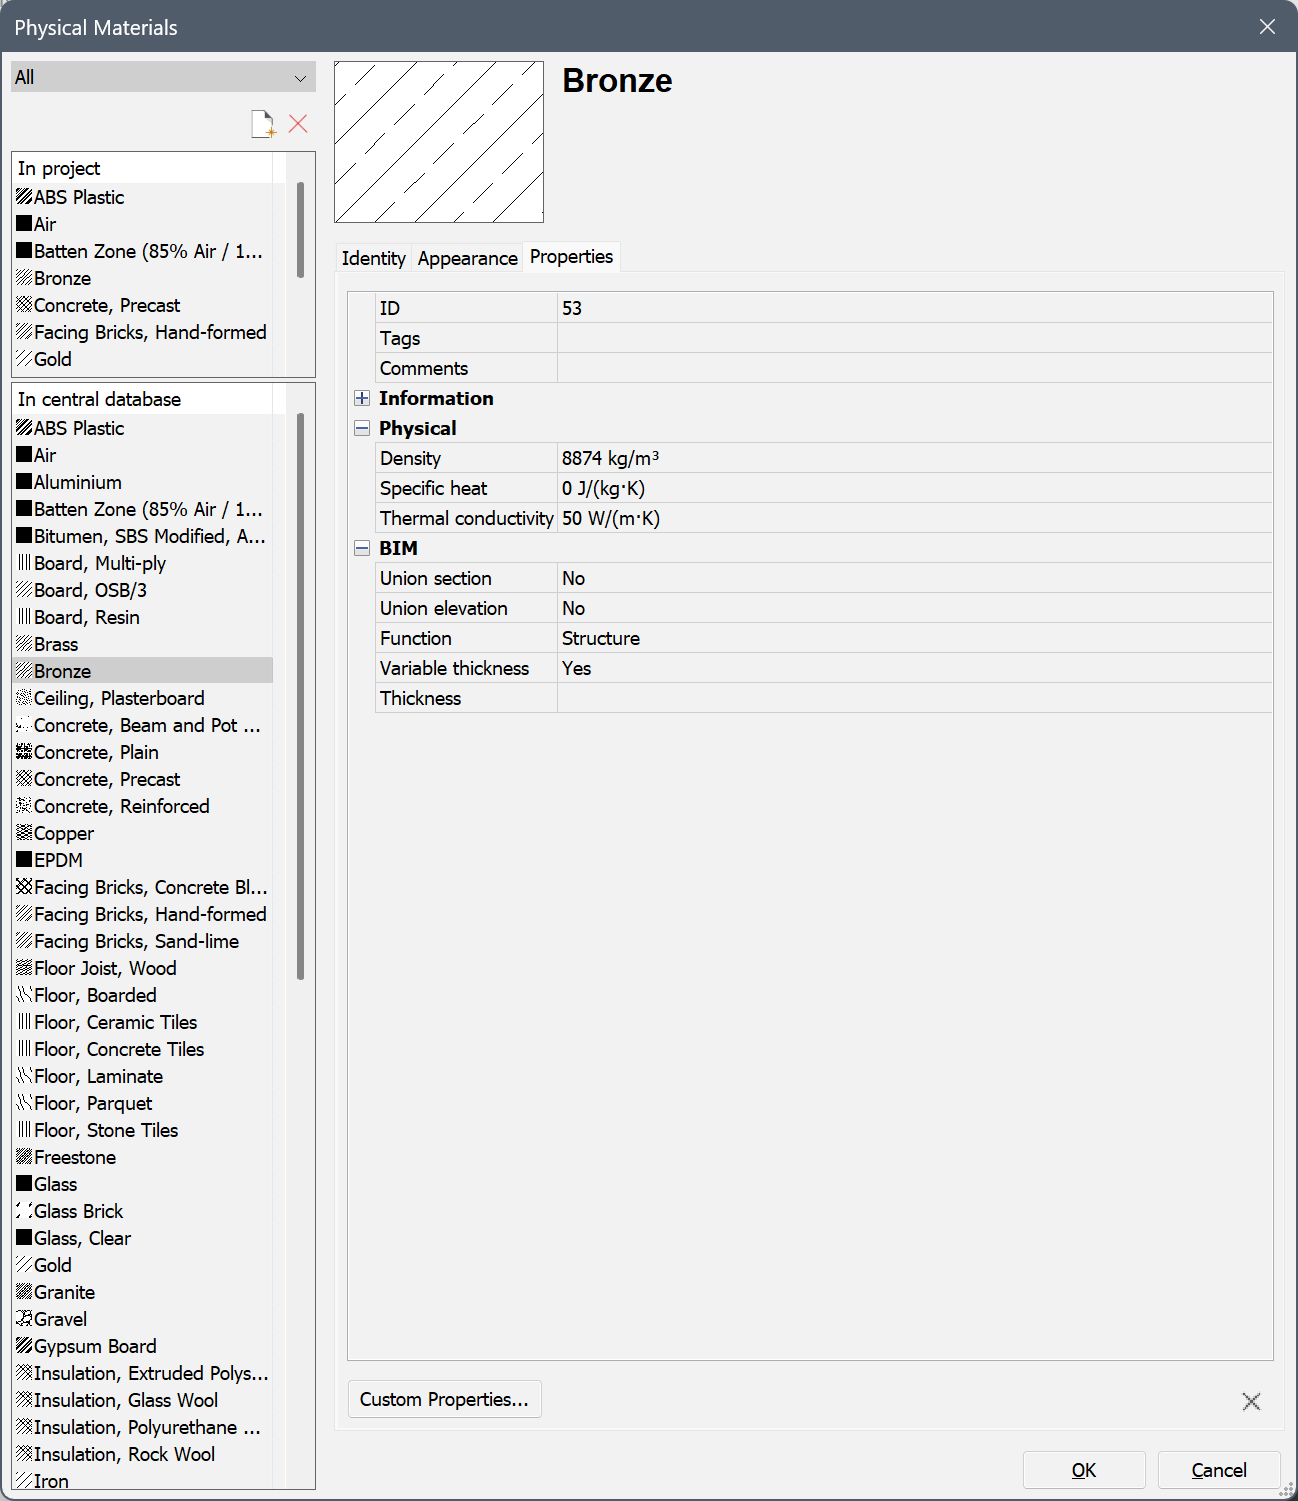
Editing a physical material
- Identity: you can edit the Name, Class and Description of the material.
- Appearance: you can edit how the material is rendered in Section, Elevation and 3D views.
- Properties: you can edit the properties of the material in the Information, Physical and BIM categories.
Select the material you want to edit in the In project or in the In central database list on the Physical Materials dialog box.
Identity tab page
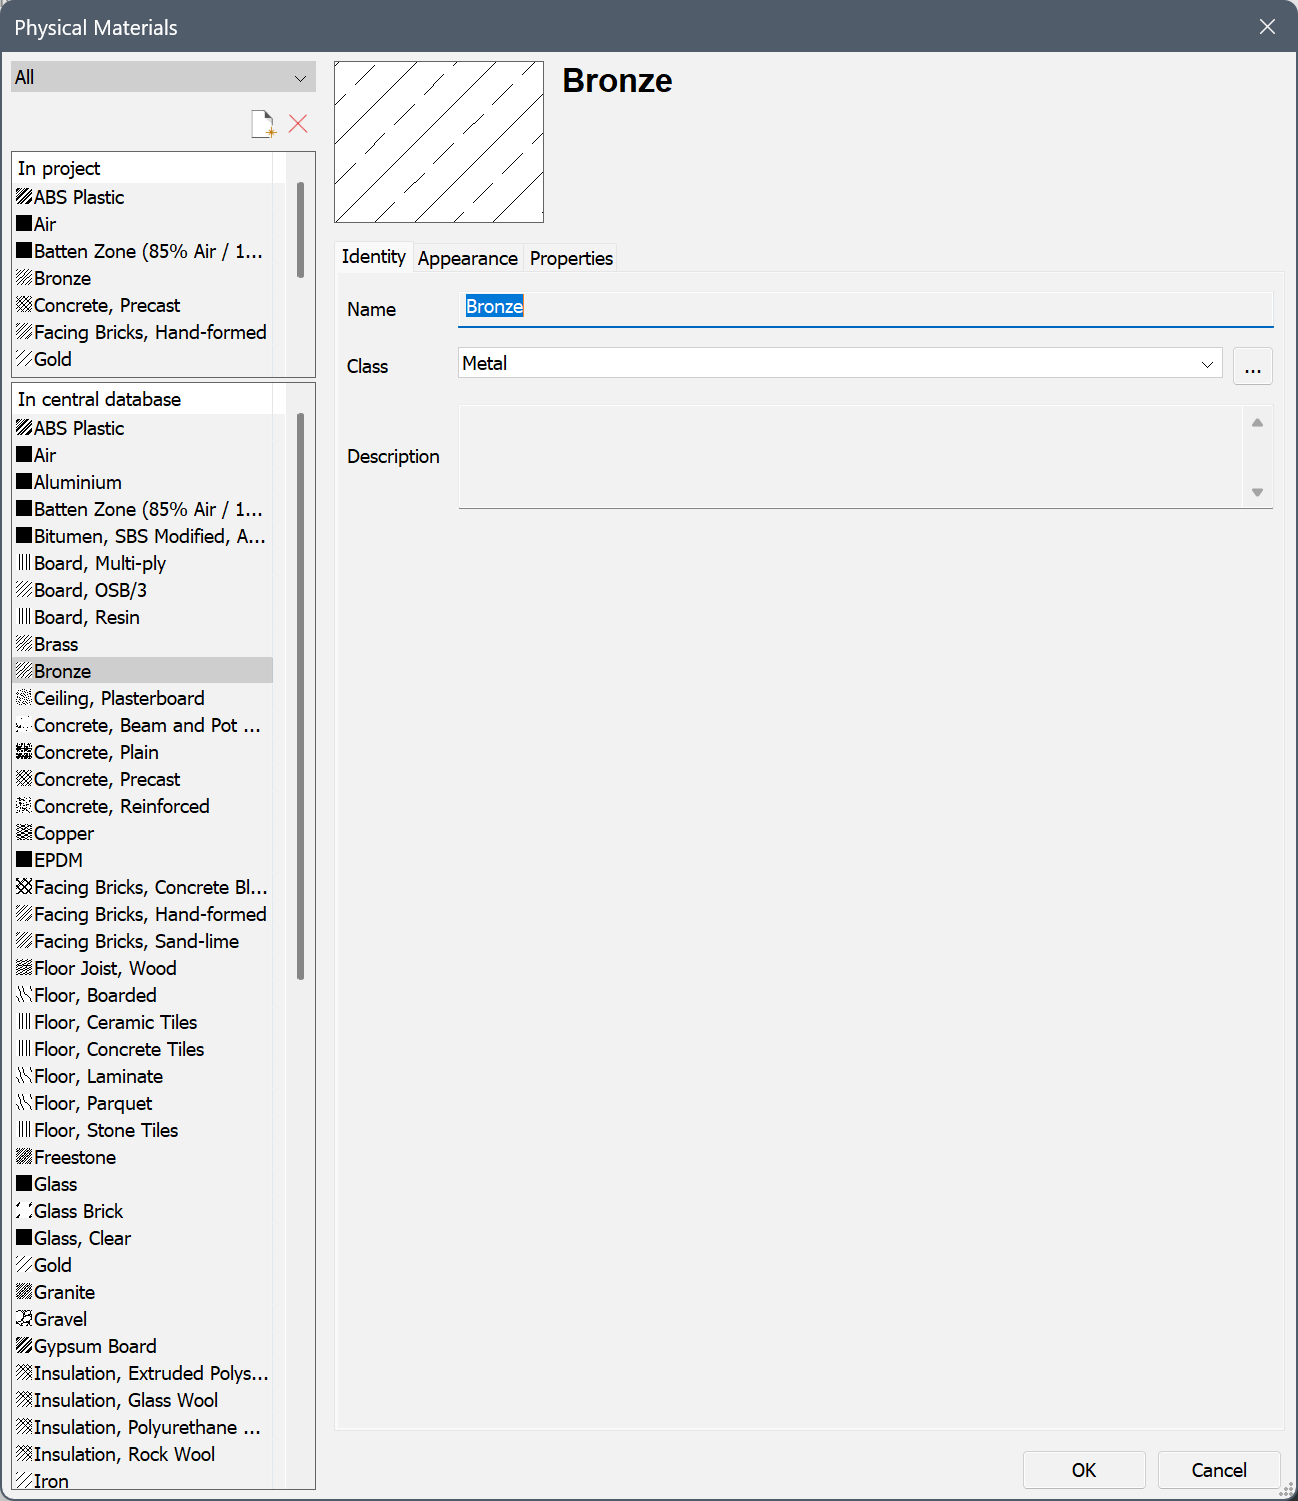
- Type a Name for the material.
- Select a Class from the drop-down list*.
- (Optional) Type a Description.
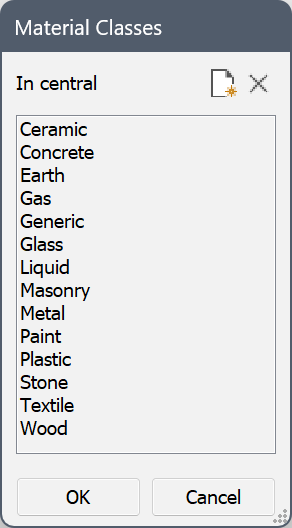
* Click the Browse button () near the Class drop-down menu to open the Material Classes dialog box where you can create new material classes.
Appearance tab page
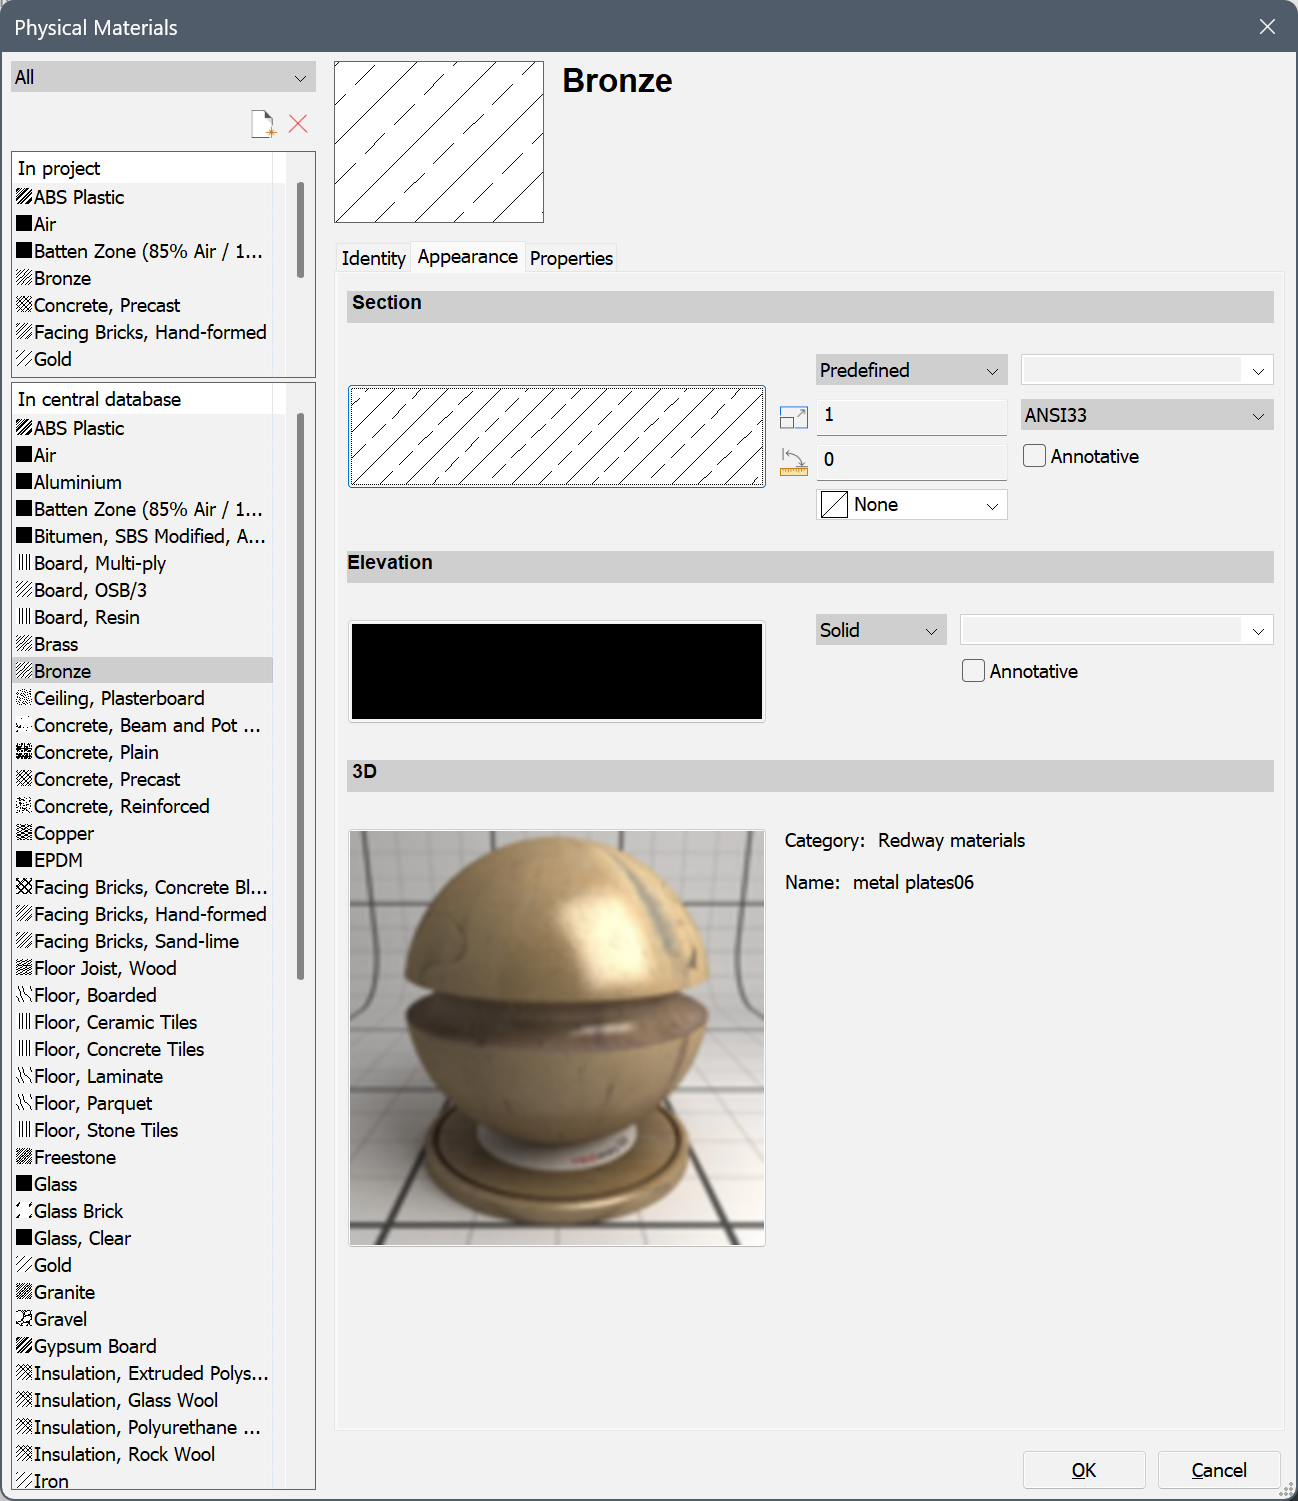
- Section settings
The Section settings define the fill of the section boundary lines in generated 2d sections.
- Click the Hatch Pattern Type drop-down menu and select the type of the hatch: None, Solid, Linear, Predefined or Custom.
- Do one of the following to select a predefined or custom hatch pattern:
- Click the hatch preview and select the pattern in the Section Hatch Pattern dialog box.
- Click the Hatch Pattern Name drop-down menu and select the pattern in the list.
- Define the space between the lines with Hatch Pattern Space (only for Linear type).
- Define the Hatch Pattern Scale.
The final pattern scale in a section is the product of the Scale setting of the physical material and the value of the Scale property of the BIM section. As a result, the printed scale of the hatch pattern is independent of the section plane scale.
- Set the Hatch Pattern Angle.
- In the Layer field, either type a name or click the arrow button and select a layer in the list.
- Optionally, check the Cross option (only for Linear type).
- Optionally, check the Annotative option.
- Optionally, choose a Hatch Background Color for the selected hatch pattern.
- Elevation settings
The Elevation settings define the elevation fill of the section background lines in generated 2d sections. The Generate elevation fill setting needs to be active on the viewport of the 2d section to use elevation fills.
See the Section settings above, except for the Scale setting. The elevation hatch is independent of the Scale property of the BIM section.
- 3D settings
The 3D settings define the rendering material that will be used in the 3d model.
Double-click the preview image and select a material in the Select Render Material dialog box.
Properties tab page
- Edit the Tags field: tags are separated by commas.
Tags are case sensitive.
Click the Browse button (
) to open the Tags dialog box.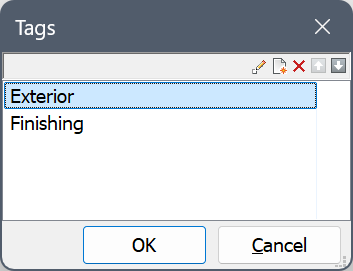
- Click the New Item button () to add a new tag at the bottom of the list.
- Select a tag in the list and click a tool button:
 : Edit the selected tag.
 : Delete the tag.
 : Move the tag up.
 : Move the tag down.
- (Optional) Expand the Information properties and fill out the necessary fields.
- (Optional) Expand the Physical properties and specify the physical properties of the material.
- Expand the BIM properties.
- Union section: Select Yes to remove connection lines in sections between different solids of this material. Select No to keep the connection lines.
- Union elevation: Select Yes to remove connection lines in elevations between different solids of this material. Select No to keep the connection lines.
- Select a Function from the drop-down list.
- Variable thickness:
Select Yes to allow a variable thickness. When applying a composition that contains a material with variable thickness to a solid, the ply thickness will adapt so the total composition thickness matches the thickness of the original solid.
Select No to not allow a variable thickness. When applying a composition where all plies have a fixed thickness to a solid, the thickness of the solid will be adapted to match the thickness of the composition.
- Type a default thickness in the Thickness field.
- Click OK.
Copying materials between the project and central (library) databases
- Select the material(s) in the source database.Press and hold the Ctrl key to select multiple materials.
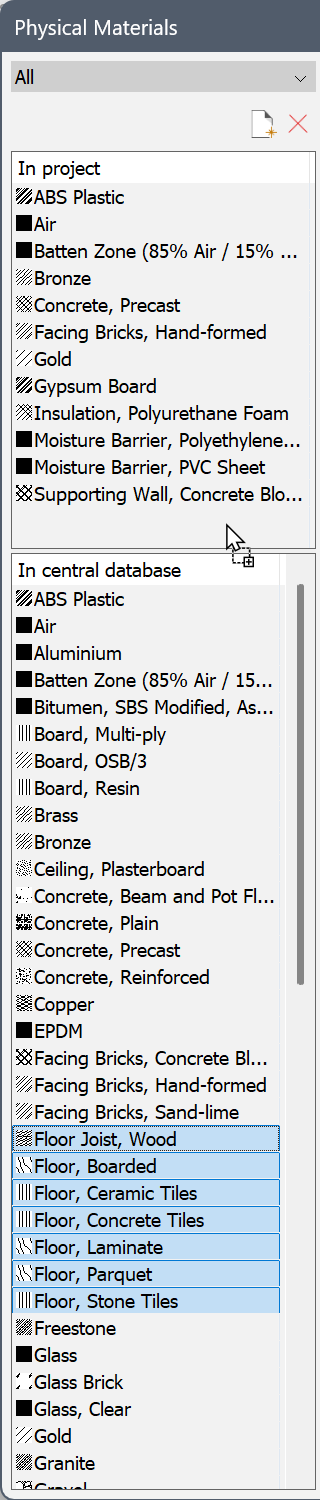
- Drag the materials to the target database.
The selection set is copied.
If one or more materials already exist in the target database, an alert box displays:
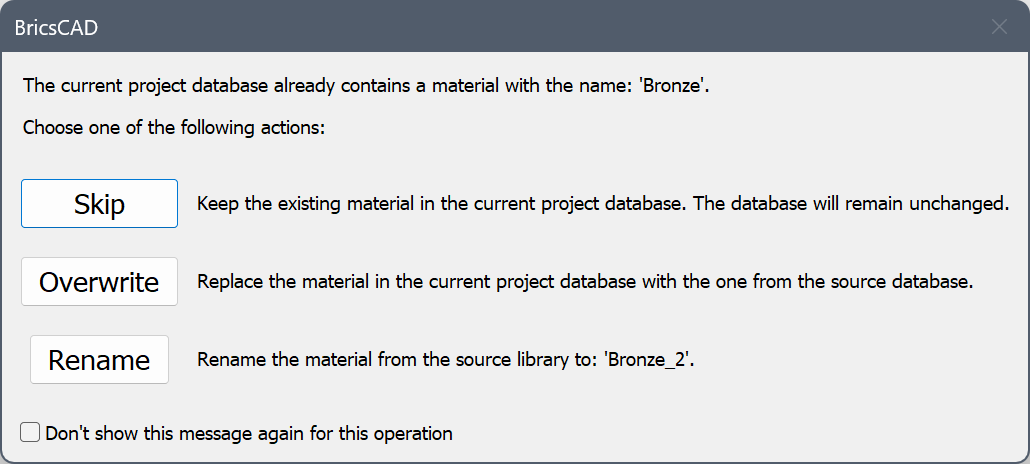
Click the appropriate button to either overwrite, duplicate or skip the existing material. Duplicated materials have an index number added to their name.
Applying physical materials
- For solids and BIM entities
- First, add the physical material to a composition as a ply, then apply that composition to an entity:
- Open the Compositions dialog box (BLCOMPOSITIONS command).
- Create a new BIM composition (New Composition button) or select a composition in the list to edit it.
- Click the Add ply button.
The Physical Materials dialog box opens.
- Select the material and click OK.
- Click OK to close the Compositions dialog box.
- Apply the composition:
- Use the BIMATTACHCOMPOSITION command.
- Drag and drop the composition from the BIM Compositions panel over the entity.
- For Mechanical components
- Apply the physical material using the Mechanical Browser panel:
- Open the Mechanical Browser panel (MECHANICALBROWSEROPEN command).
- Select the component.
- Find the Material property of the component.
- Click the Select material button next to the material.
The Physical Materials dialog box opens.
- Select a physical material and click OK.
Deleting physical materials
- On the Physical Materials dialog box, select the material(s) in the Project or Library database.
- Click Delete.