Using the Library panel
About

The Library panel is a quick way to keep your BIM blocks at your fingertips or to access predefined ones. You can add any CAD model to the Library. You can also fully customize the name and category to make it easier to find. You can then insert a library block in your drawing by dragging and dropping. Keep your library clean by deleting the items you no longer need.
Content of the Library panel
You can control the content of the Library panel in the Option menu.
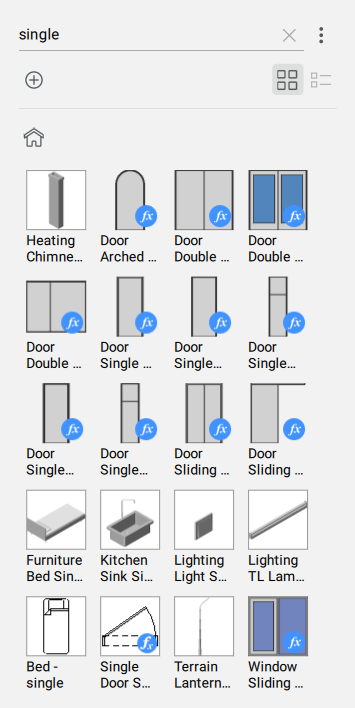
Searching the block libraries
Type a search string in the search field.
Only matching library blocks in the current category display.
Inserting a BIM window into your 3D model
This technique can be used for most of the blocks in the Library panel.
All windows and doors in the block library are parametric. You can edit their dimension during or after the insertion process (via the Properties panel).
- Click the Windows category tile in the Library panel.
- Click a window thumbnail in the panel.
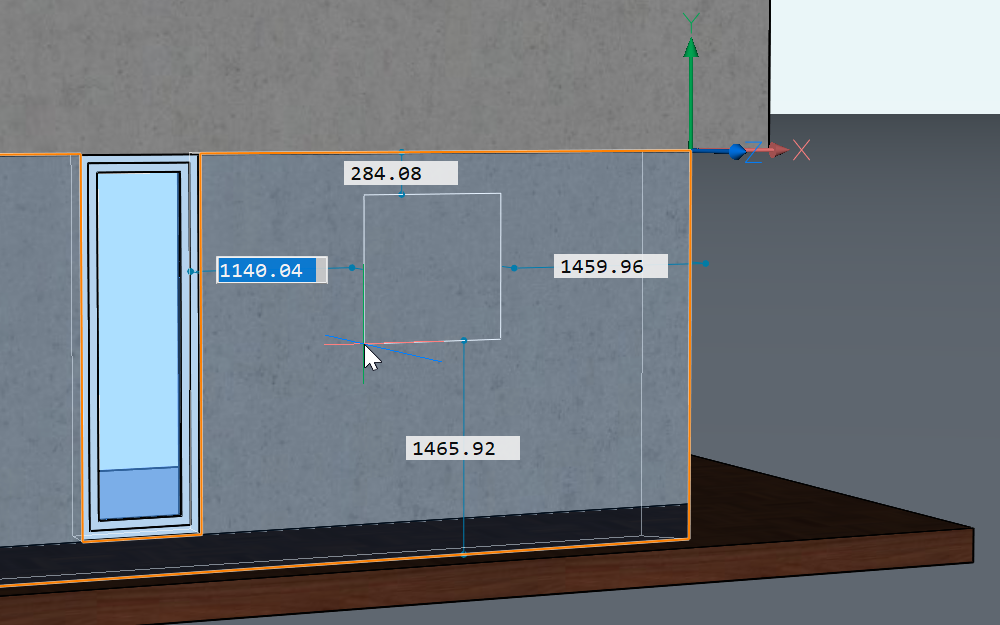
- Hover the cursor over the wall in Model Space and click when in the desired position.
 Note: You can also insert windows and doors when you are in Top View Mode. For Top View Mode info, see the The Story Bar article.
 - If Dynamic dimensions (DYN) is switched on, set the window location by entering the dimensions into the DYN fields (1). Press the Tab key to cycle through the DYN fields. A DYN field turns red to indicate the distance is locked.
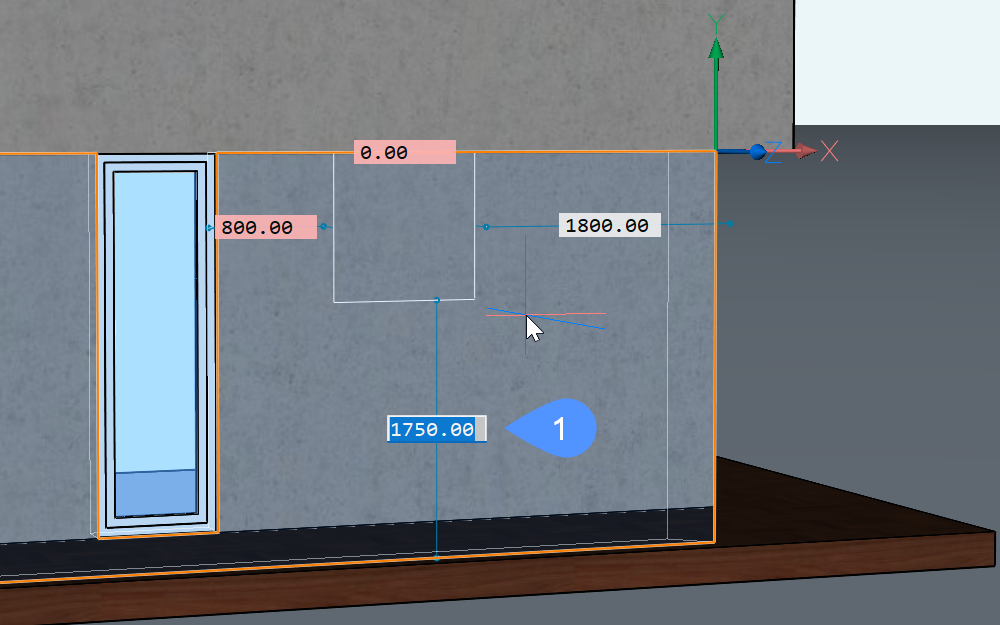
- Press Enter. The window is inserted.
- (Optional) To adjust the dimensions of the window after the window has been created, go to the Properties panel. Scroll down to the Parameters section and change the parameters as required.
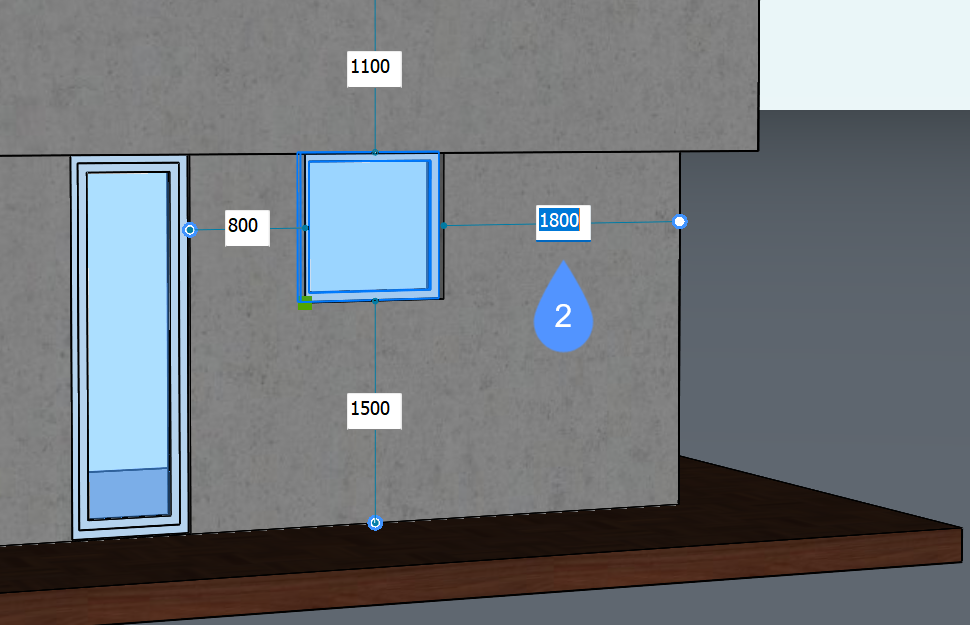
- (Optional) Once you have a window, you can adjust the position by selecting the window and then clicking the dimension lines and editing the dimensions (2).
Note: A red preview appears while a solid with a subtractor, such as a window, is copied, moved, or manipulated, ensuring easy placement on the affected solid.
Working with BIM blocks
The value of Component type property for all blocks in the Bricsys BIM library library is BIM Block. These blocks behave similarly to regular blocks.
Use the CONVERTCOMPONENTSTOBLOCKS command to convert Mechanical Components (deprecated) to BIM Blocks.
Edit BIM Blocks with the BEDIT command and replace them with the BLOCKREPLACE command.
To create a BIM Block, use the BIMCLASSIFY command with the Drawing selection option, then the CREATELIBRARYBLOCK command to add it to the components library.
Creating a library block
- Open or create the drawing which contains the geometry for the new block.
- Open the Library panel.
- Do one of the following:
- Click the Home icon (
 ).
).This allows you to select the destination category; or you can create a new category.
- Click the Category thumbnail.
The new item is created in the selected category or in a subcategory of the selected category.
- Press the Add button
 or launch the CREATELIBRARYBLOCK command.
The Add block to library dialog box displays.
- Select the entities or choose the Entire drawing option.
- Type a name for the block.
- (Optional) Type a new category name or choose a category from the list.
- (Optional) Click Show Options and set the block creation options.
- Click the Create button.
- Click the Home icon (
Managing user library blocks
- In the Grid view display, hover over the block icon.
- Click the Menu icon (...).
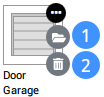
- (Optional) Click the File Open icon (1) to open the block file.
Edit the file, then save the changes.
- (Optional) Click the Delete icon (2) to delete the block file.
Click Yes to confirm.